How To Make Printable Iron On Transfers
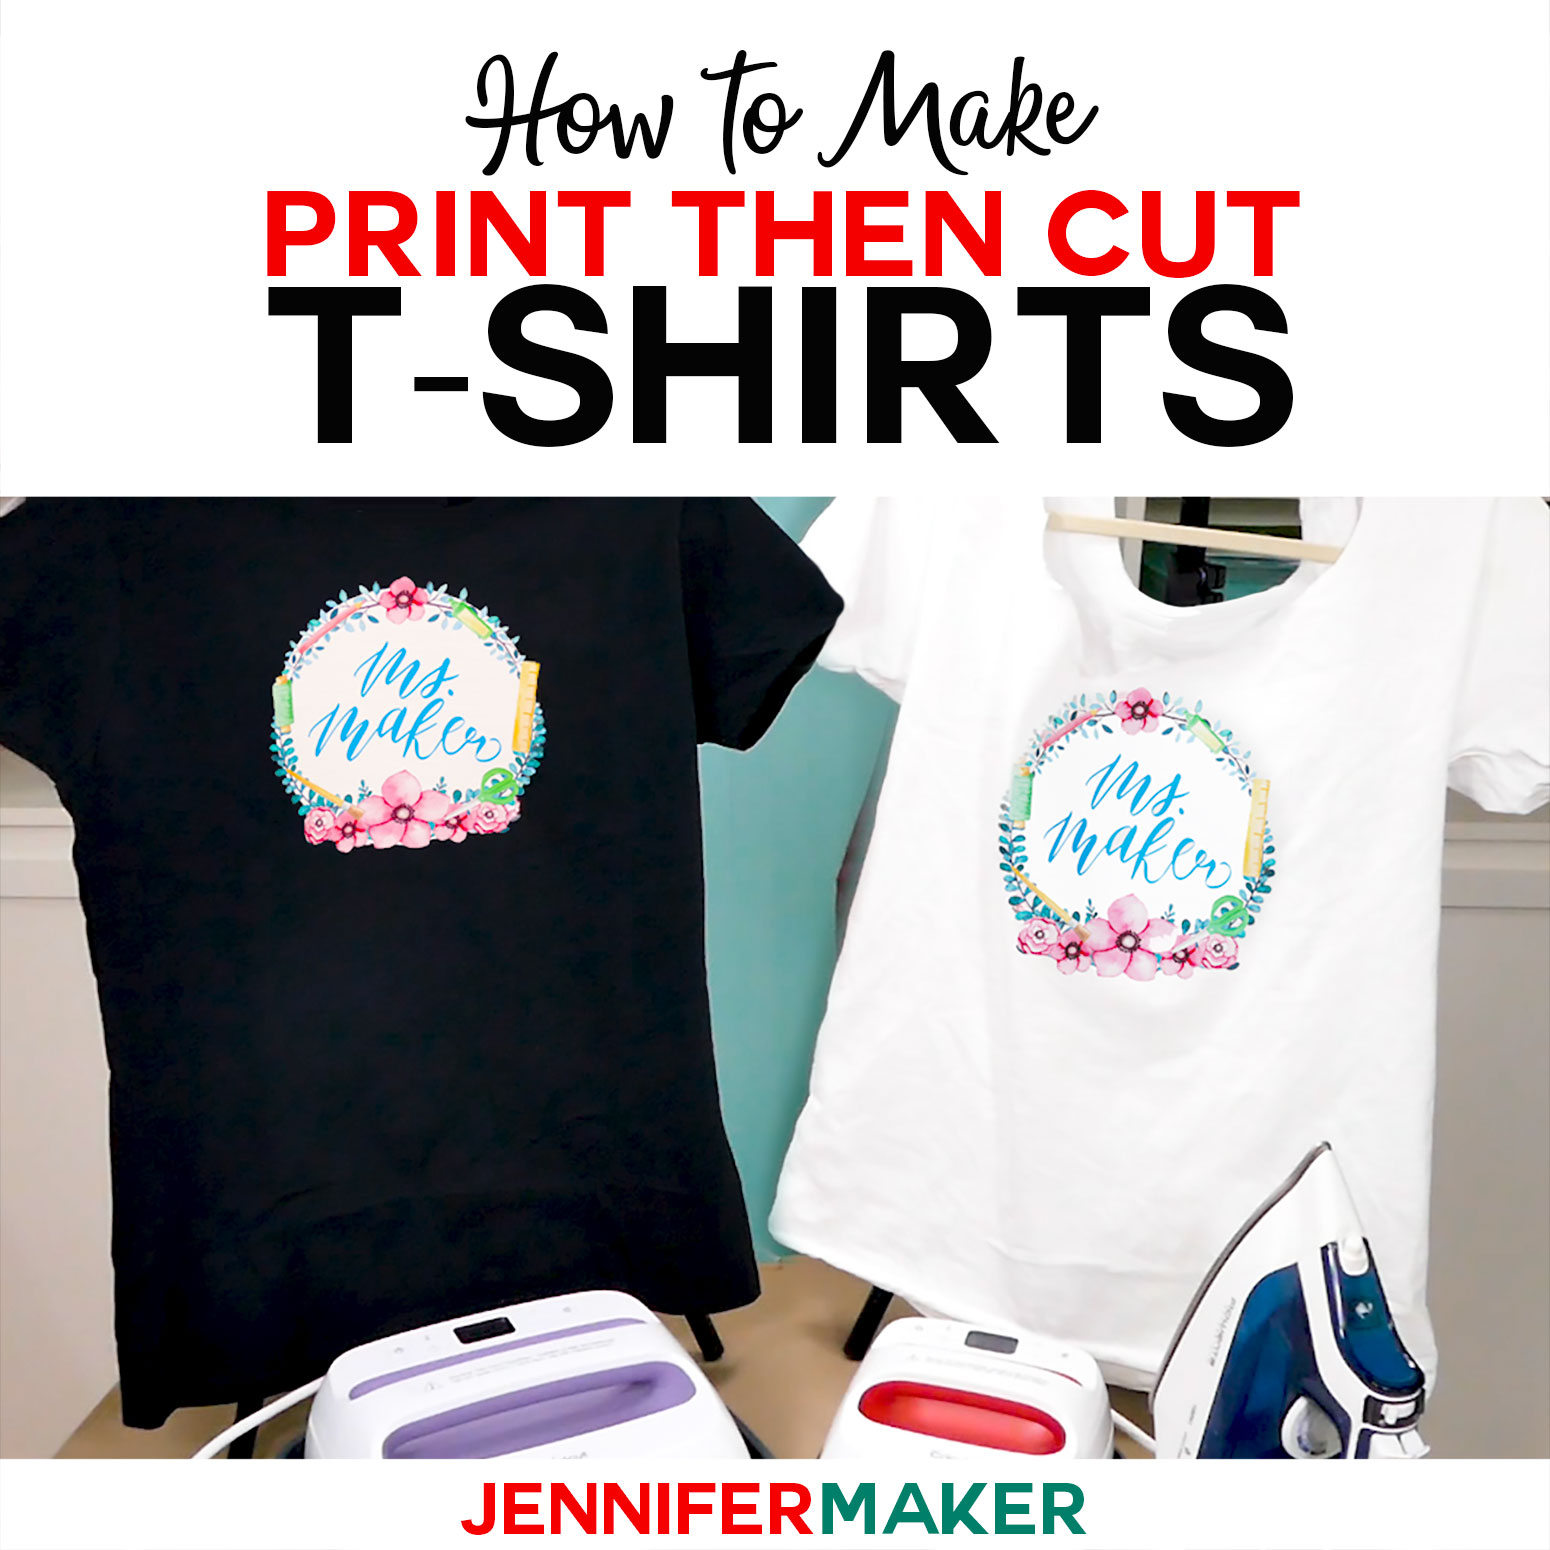
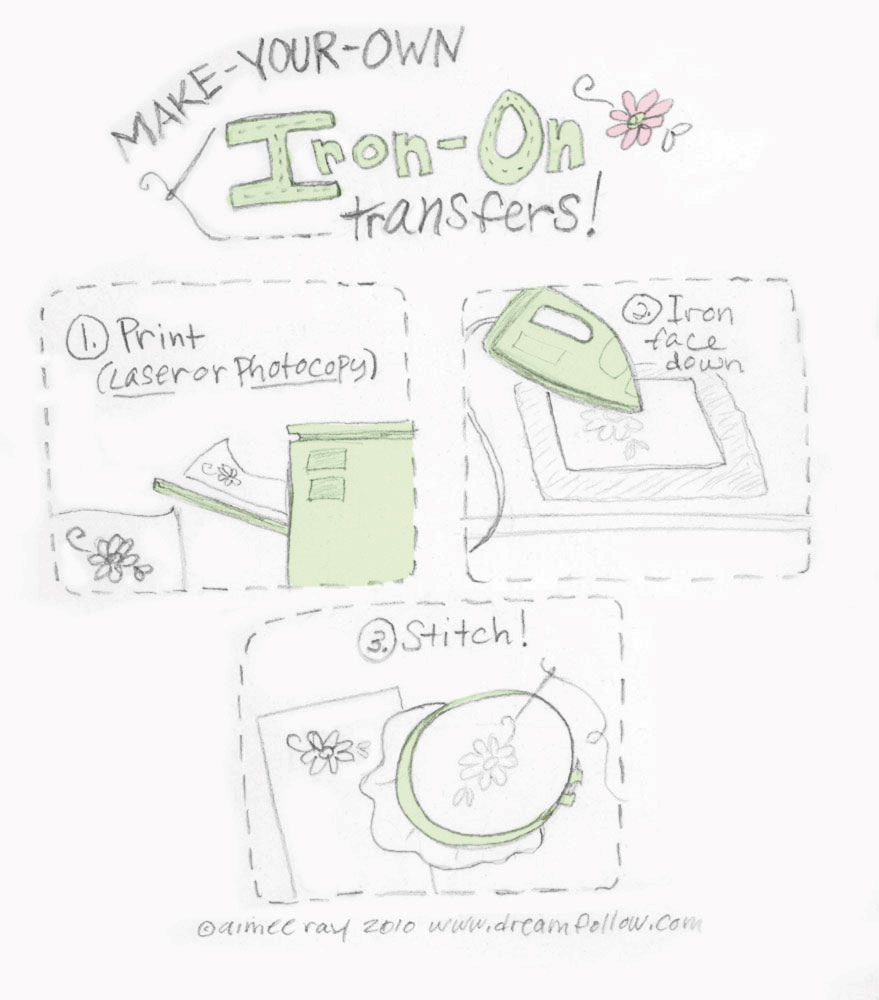
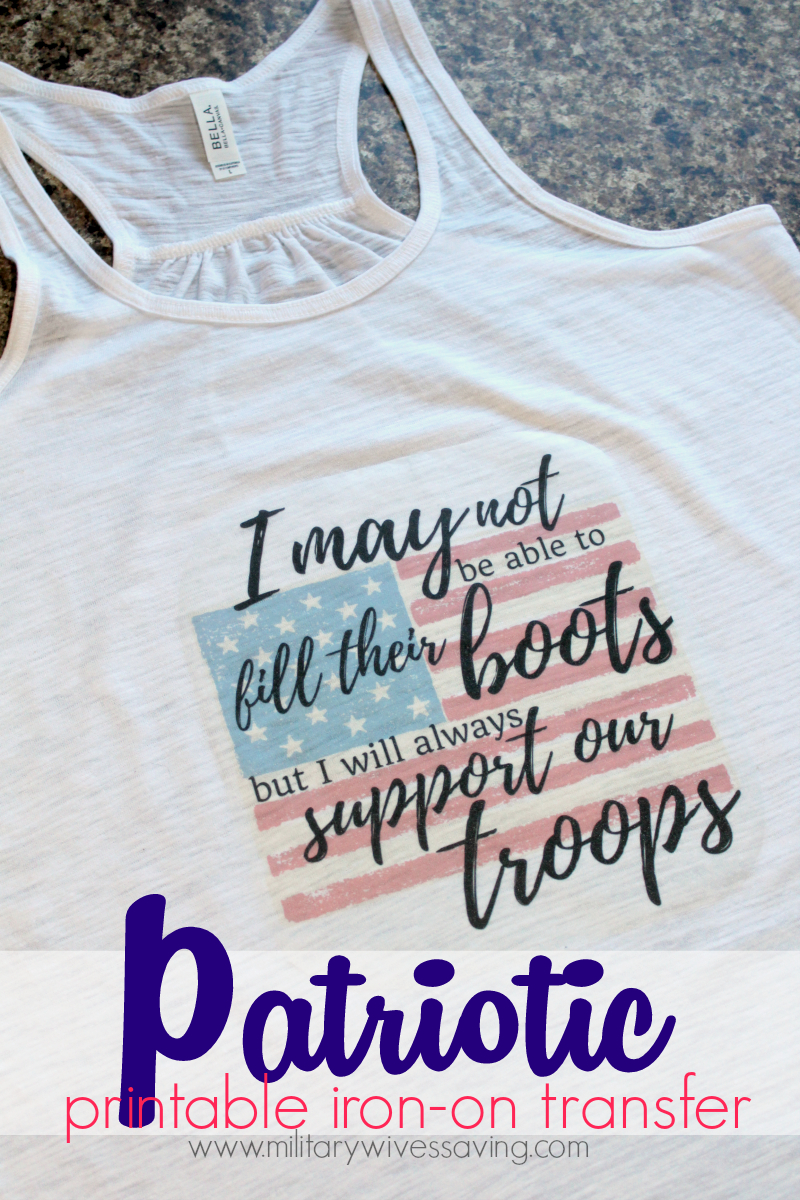
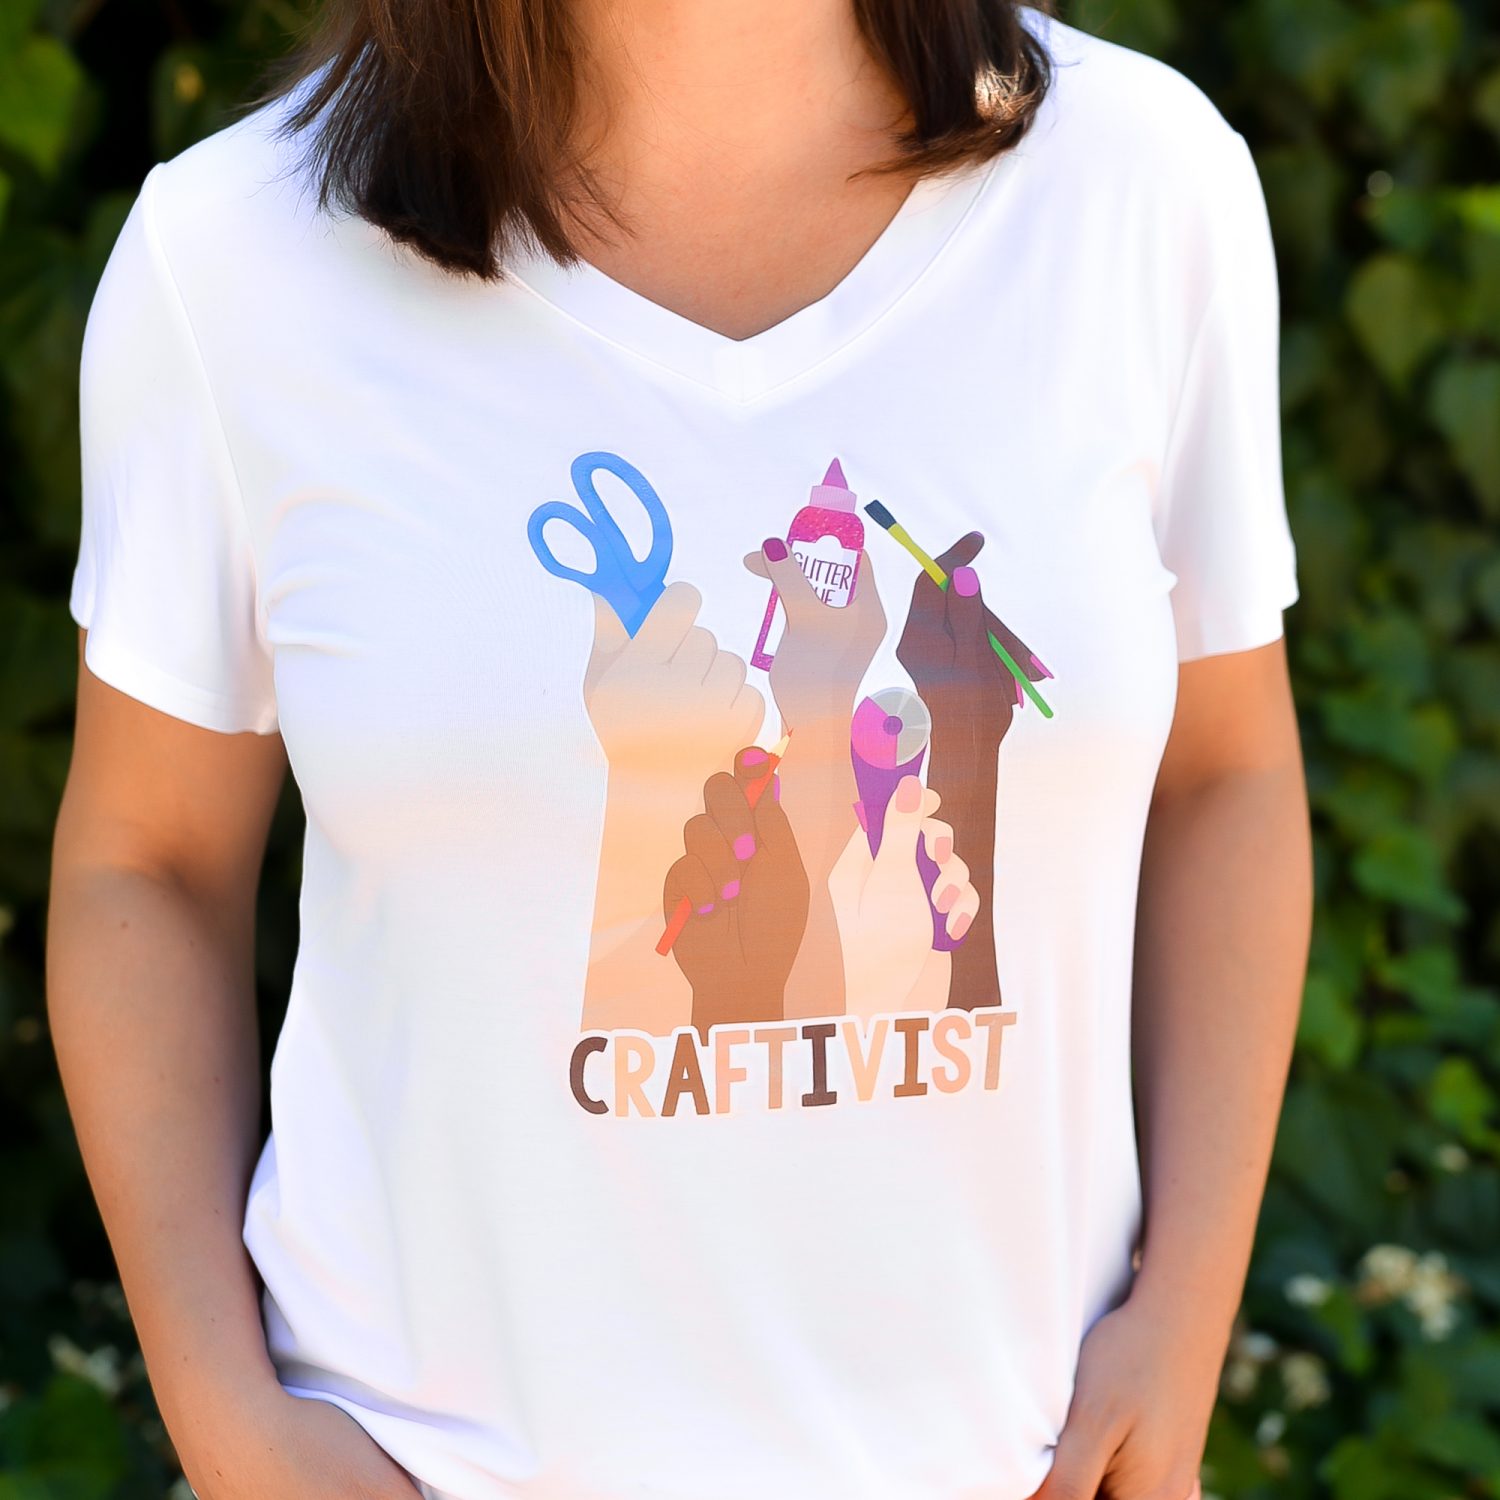
How To Make Printable Iron On Transfers - All you'll need is some fabric, transfer images, transfer paper, and an iron! By following the steps outlined in this guide, you can design and apply your own unique images to a variety of fabrics. It's easy to make your own iron on transfers using free clip art (or a favorite photograph) and special transfer paper you run through your inkjet printer. Transfer your design using a household iron or sew the printable fabric onto desired surface. • print one color with a difference. Make a gift in less than 1 hour! Customize your printable design in design space, then select make it. They're washer and dryer safe, and will stick strong and last long for years to come! Creating the most detailed, highest quality, full color direct to film transfer you can find. Before designing, you must consider is. Allow 15 seconds to cool before peeling and press again for ultimate durability. Let's get started with iron on transfer crafts. Printable iron on is a heat transfer material on which you can print an image. In this video, i not only teach you how to apply and print. Transfer your design using a household iron or sew the printable fabric onto desired surface. Press your dtf transfer at 320°f / 160°c. Using a laser printer may damage the. Creating the most detailed, highest quality, full color direct to film transfer you can find. • print one color with a difference. By following the steps outlined in this guide, you can design and apply your own unique images to a variety of fabrics. You can make custom clothing, tote bags, aprons, and much more. In this video, i not only teach you how to apply and print. We make your transfer using our unique dtf transfer process. Insert a sheet of transfer paper into your printer so that the printing will occur on the plain, unmarked side of the transfer sheet. It has. By following the steps outlined in this guide, you can design and apply your own unique images to a variety of fabrics. Print image and allow to dry for 30 minutes before transferring. • extra durability (80+ washes). Customize your printable design in design space, then select make it. • print one color with a difference. Let's get started with iron on transfer crafts. All you need is a heat press. They're washer and dryer safe, and will stick strong and last long for years to come! • print one color with a difference. In this video, i not only teach you how to apply and print. Transfer your design using a household iron or sew the printable fabric onto desired surface. Parchment paper or thin cloth. You can use it on many types of fabric blanks, as seen below. Printable iron on is a heat transfer material on which you can print an image. Begin by test printing the template on a plain piece of paper. All you'll need is some fabric, transfer images, transfer paper, and an iron! Allow 15 seconds to cool before peeling and press again for ultimate durability. Hard surface (e.g., wooden cutting board) 7. Let's get started with iron on transfer crafts. • extra durability (80+ washes). You can make custom clothing, tote bags, aprons, and much more. Its as easy as print, cut, iron & enjoy! Before designing, you must consider is. Print image and allow to dry for 30 minutes before transferring. • print one color with a difference. Make a gift in less than 1 hour! Customize your printable design in design space, then select make it. All you need is a color printer, iron on transfer paper, an iron and a tee shirt or piece of fabric to print your design on. Transfer your design using a household iron or sew the printable fabric onto desired surface.. • print one color with a difference. You can make custom clothing, tote bags, aprons, and much more. • extra durability (80+ washes). All you'll need is some fabric, transfer images, transfer paper, and an iron! Creating the most detailed, highest quality, full color direct to film transfer you can find. To print your own t shirt only requires a design, a home or office printer, an iron, and something to print. Parchment paper or thin cloth. • designs featuring metallic inks. All you need is a color printer, iron on transfer paper, an iron and a tee shirt or piece of fabric to print your design on. Before designing, you. Its as easy as print, cut, iron & enjoy! Hard surface (e.g., wooden cutting board) 7. All you need is a heat press. By following the steps outlined in this guide, you can design and apply your own unique images to a variety of fabrics. All you'll need is some fabric, transfer images, transfer paper, and an iron! Allow 15 seconds to cool before peeling and press again for ultimate durability. Creating the most detailed, highest quality, full color direct to film transfer you can find. By following the steps outlined in this guide, you can design and apply your own unique images to a variety of fabrics. It's easy to make your own iron on transfers using free clip art (or a favorite photograph) and special transfer paper you run through your inkjet printer. They're washer and dryer safe, and will stick strong and last long for years to come! • extra durability (80+ washes). • orders of 50+ pieces. You can use it on many types of fabric blanks, as seen below. Upload your artwork to designer. To print your own t shirt only requires a design, a home or office printer, an iron, and something to print. These fabric transfers work well with pillows, quilts, tote bags, and even work great with apparel. All you'll need is some fabric, transfer images, transfer paper, and an iron! • print one color with a difference. For use with inkjet printers only. Hard surface (e.g., wooden cutting board) 7. You can make custom clothing, tote bags, aprons, and much more.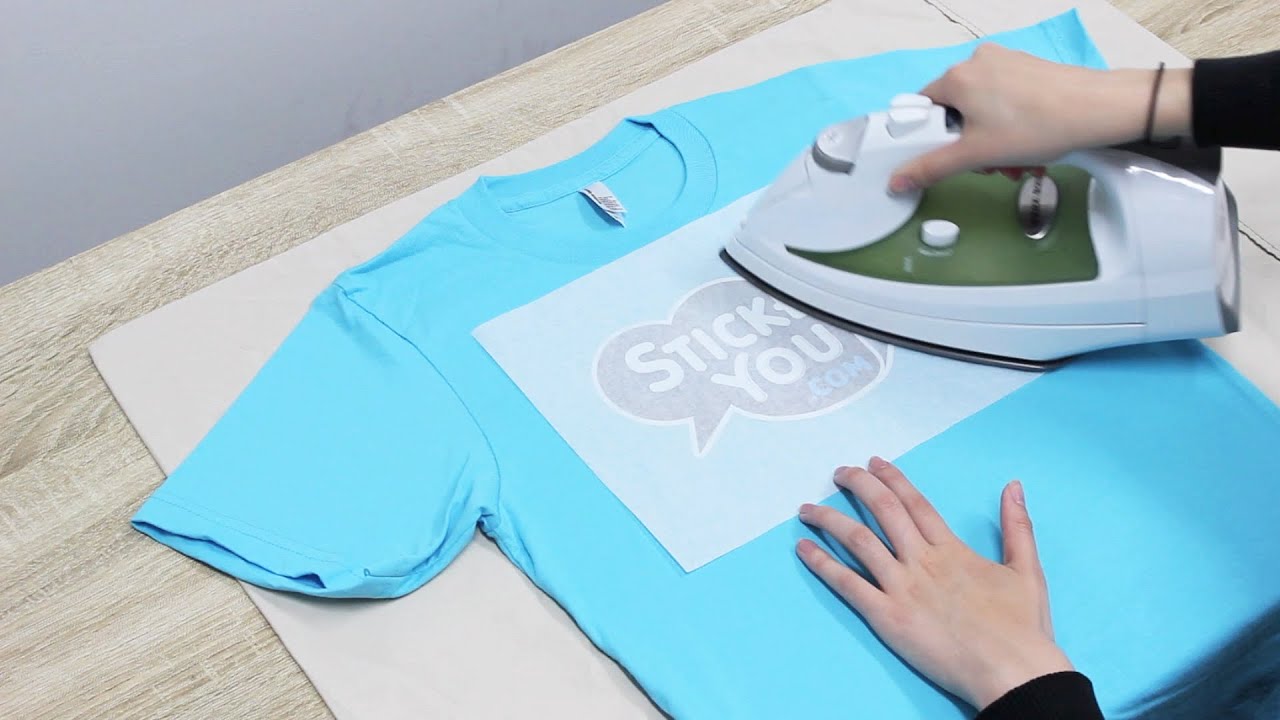
Applying IronOn Labels & Transfers StickerYou Tutorials YouTube

How To Make Printable Iron On Transfers
Template Free Printable Iron On Transfers For T Shirts Printable
little dear tracks Make your own IronOn transfers!
Free Printable Iron On Transfers For T Shirts Free Printable
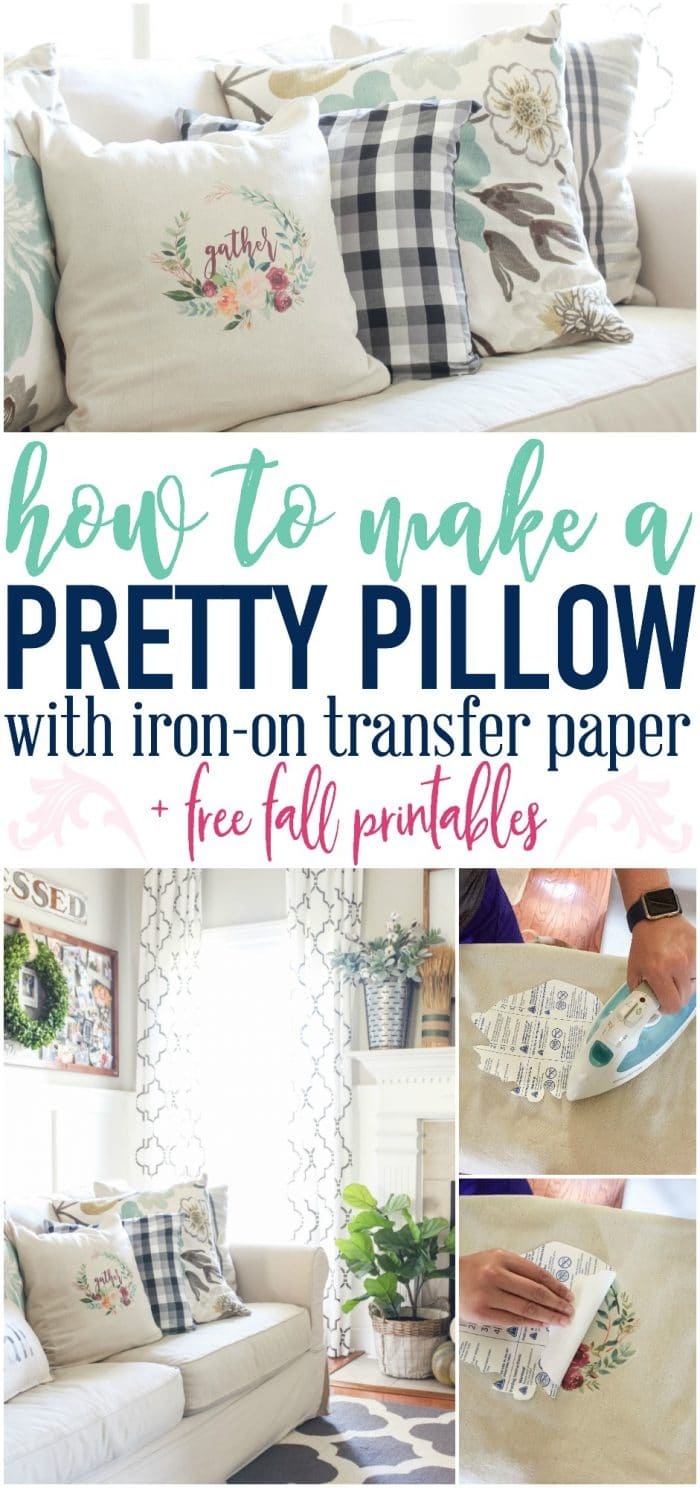
How To Make A Pillow With Iron On Transfer Paper + A Free Fall Free

How To Make Printable Iron On Transfers
How to Use Printable Iron On with your Cricut Hey, Let's Make Stuff

How To Make Printable Iron On Transfers

How to Use Printable Iron On with your Cricut Hey, Let's Make Stuff
Insert A Sheet Of Transfer Paper Into Your Printer So That The Printing Will Occur On The Plain, Unmarked Side Of The Transfer Sheet.
Print Image And Allow To Dry For 30 Minutes Before Transferring.
Begin By Test Printing The Template On A Plain Piece Of Paper If Desired.
It Has An Adhesive On The Back That Is Activated By Heat (Using A Cricut Easypress (My Favorite) Or Traditional Heat Press.
Related Post: